
Introduction
As an authorized person on the client’s side, you can exchange information with a Tax advisor through TULIP. Use a tax Questionnaire uploaded into your account – via the Questionnaire, you can safely share necessary data and information and upload mandatory documents. This guide describes the most common questions and also the entire process.
Please note a TULIP setup you see always depends on custom requirements and access settings of TULIP for your company. Not all companies use the CIT functionality.
Frequently asked questions
I can’t log in to TULIP.
If you forgot your password/your password is expired, click the Password reset button on the login screen and create a new one.
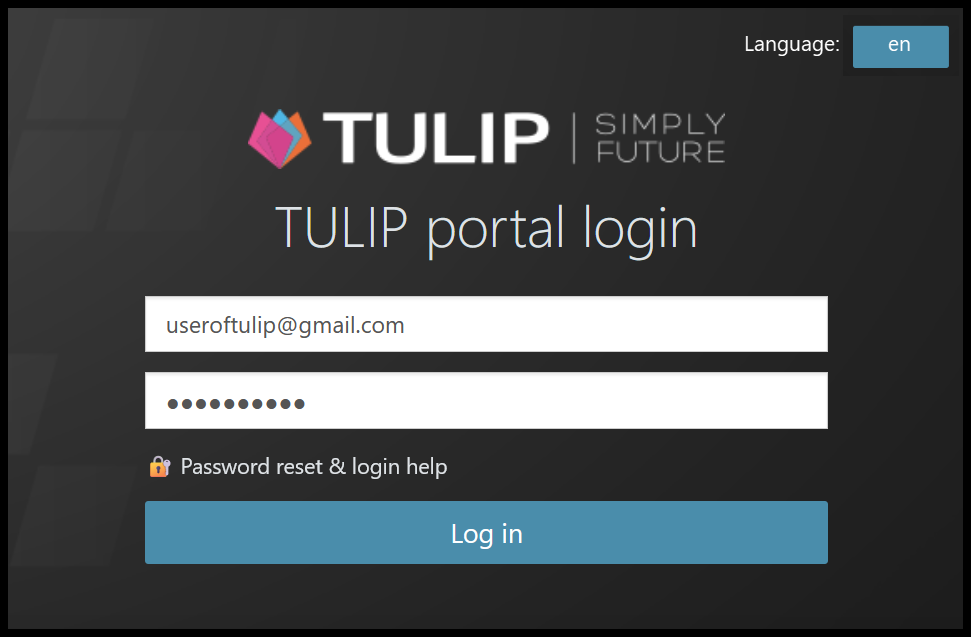
If there is some other issue, contact us.
I have some questions related to tax or the tax calculation.
Please contact the person who is processing your tax return.
What does a Username mean? Where can I find it?
A Username is a set of numbers and letters. It cannot be repeated in any other TULIP account.
It is used to separate two accounts with the same email address (e.g. your employee account for attendance, payroll, business trips & separate account for a Tax Questionnaire).
Find your Username in the welcome email (the first email notification after your TULIP account is created).
Steps
Step 1 – Activate your account
You received an e-mail notification (from notifications@tulipize.com) to activate your account. If you did not activate your account yet, please do it now. Then, continue to the next step.
Step 2 – E-mail
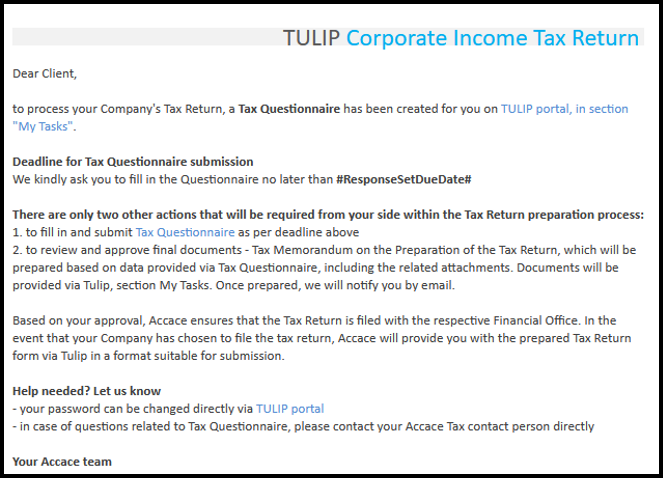
You received another e-mail notification (from notifications@tulipize.com) regarding a tax Questionnaire. Open the e-mail link.
Please follow the instructions shared via notification.
Step 3 – Tile

You can also access the Questionnaire in TULIP via tile My Tasks.
The Questionnaire will be available once the action in tax Questionnaire is on your side and requires your activity.

In the Tax return tile, you’ll find all your Questionnaires and related documents, including those you’ve completed in the past.
Click on the Questionnaire you want to open.
Step 4 – Status bar

See the Status bar on top of the page which displays the actual status of the process. You can communicate with the provider via e-mail anytime during the process.
Please be aware that some data may be pre-filled and some steps skipped based on the settings for your company.
Step 5 – Explanation of colors

Scroll down to the Questionnaire.
Answer all the red questions.
Some questions interactively roll-out a new section of questions based on your answers.
If any answer will be missing, the tax Questionnaire will notify you.
Important note! You must click on either Save or Submit button before leaving the
Questionnaire page, otherwise your data will be lost. You will see more information on that
at the end of this manual again.
Step 6 – Attachments

If there is an Add attachment button, you must usually click on it. It is possible to attach multiple documents at once.
Please note that some documents may be a mandatory part of the tax return and therefore it is necesarry to attach them.
Step 7 – Notes
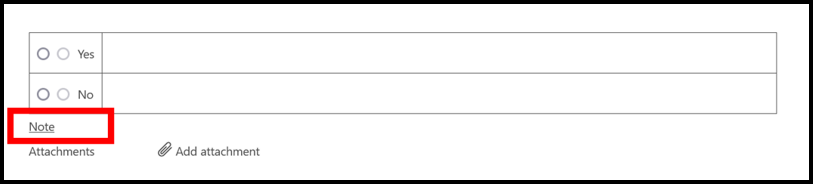
Add a Note if you need to add any additional information.
Step 8 – Submit

Scroll down to the bottom of a page.
- Click SAVE – you can save the answers and to return to the Questionnaire later. To return to the saved Questionnaire, go to My Tasks tile.
- Click SUBMIT – this button saves and sends the tax Questionnaire for further processing immediately.
Important note! You must click on either Save or Submit button before leaving the page, otherwise your data will be lost. Once you click Submit, your tax return preparation is sent for processing.
- EXPORT – Your tax Questionnaire is available for export in xls and pdf format from the 4th step of workflow (just before the tax return process is finalized).
Next step: Wait for a reply. You will receive an e-mail notification. You can communicate with the provider via e-mail anytime during the process.