
This manual includes payroll manuals to inputs & outputs from the Client´s side.
Manual from the Payroll Provider´s side is described separately.
Manual to upload Payslips for employees is described separately.
Please note a TULIP setup you see always depends on custom requirements and access settings of TULIP for your company. Not all companies use the Payroll functionality.
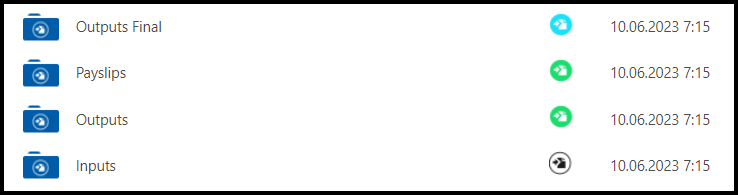
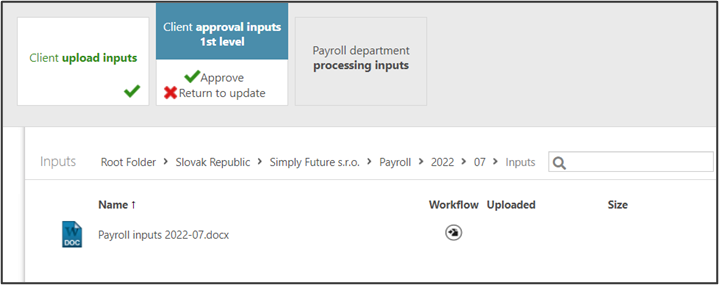
The current workflow status in payroll worklfow folders is always displayed as an icon : workflow is not started (black), workflow in progress/waiting for an action (blue), workflow finished (green).
Upload INPUTS
Upload files necessary for payroll calculation (for example some data about employees´ attendance, bonuses etc.) into TULIP.
We support and recommend especially .csv / .xls format of files.
Step 1 – Tile
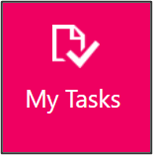
Go to My Tasks tile.
Step 2 – My Tasks
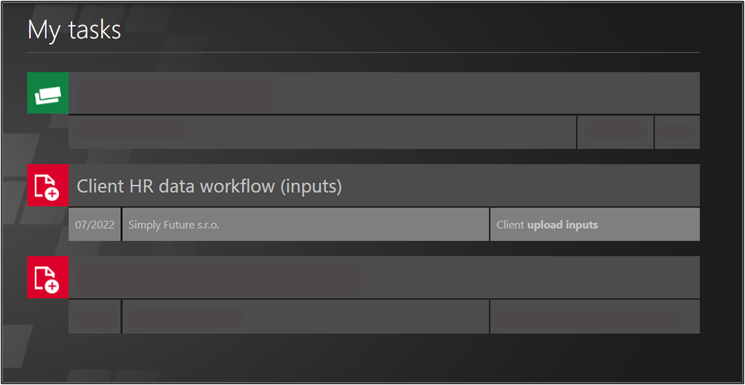
Find the Inputs category. Click on this month´s task.
Step 3 – Upload inputs
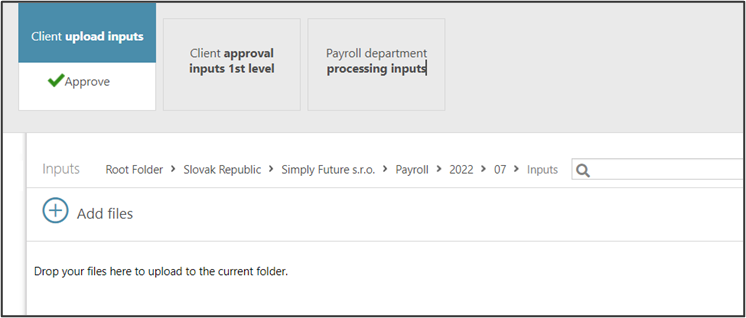
You are redirected to current Inputs Folder. The path to this folder is displayed in the picture.
Click on Add files to upload the documents for a payroll vendor.
Step 4 – File
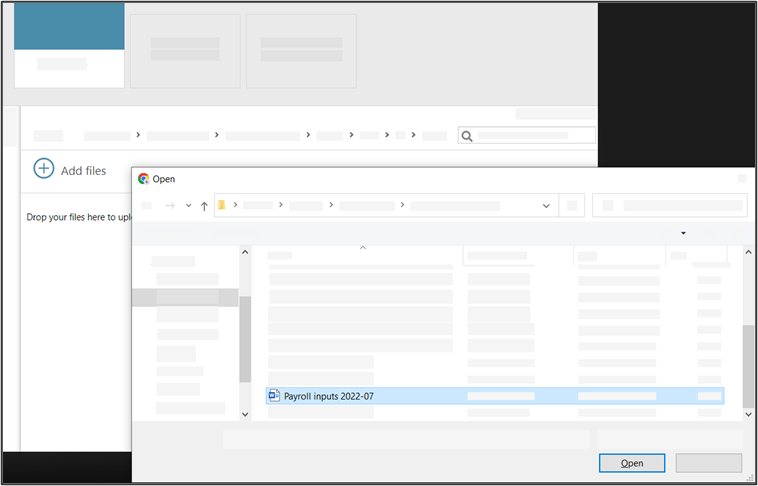
Search folders in your PC to find the required documents.
Step 5 – Approve
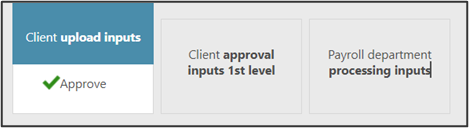
The file is now uploaded to TULIP.
Click on the Approve button. It must be approved to make it visible to the manager or directly to Provider´s Payroll department.
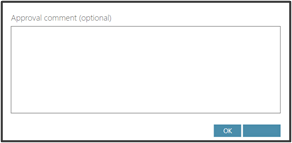
Step 6 – Comment
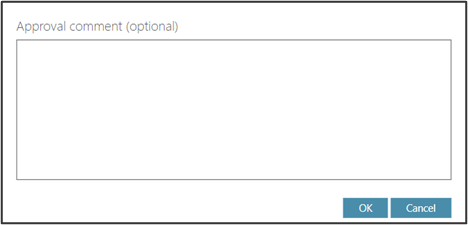
If you want to, add a comment.
Click OK.
Step 7 – Approval 2nd level
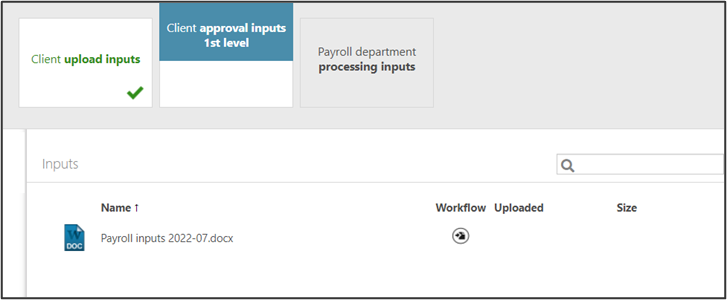
The file is locked and protected from deleting now.
This is an optional step: An approver can check the data and approve or decline it. After the approval, payroll receives the documents.
Wait for the manager to approve, and for the payroll provider to process the data.
Once the processed Outputs are sent to you, you will receive an e-mail notification.
Approve OUTPUTS / PAYSLIPS
Once the processed Outputs are sent to you, you will receive an e-mail notification.
See and download results of payroll calculation.
If you also received payslips, they are sent to employees as soon as you approve it.
Step 1 – Tile
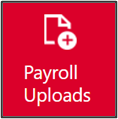
Go to Payroll Uploads tile.
Step 2 – Approve
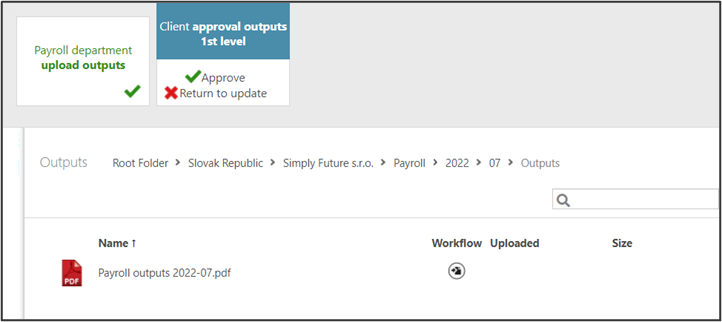
Click on the document to download it. Open the downloaded document.
Click Approve.
Step 3 – Comment
Add a comment, if needed. Click OK.