
This manual includes payroll manuals to inputs & outputs & payslips from the Payroll Provider´s side.
Manual from the Client´s side is described separately.
Please note a TULIP setup you see always depends on custom requirements and access settings of TULIP for your company. Not all companies use the Payroll functionality.
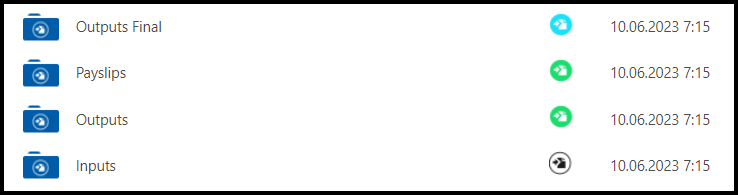
The current workflow status in payroll worklfow folders is always displayed as an icon : workflow is not started (black), workflow in progress/waiting for an action (blue), workflow finished (green).
Approve INPUTS
You received data from a client, some files necessary for payroll calculation (for example data about employees´ attendance, bonuses etc.) into TULIP. It is usually in .csv /.xls format of files.
Step 1 – Tile
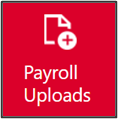
Go to Payroll Uploads tile.
Step 2 – Approve
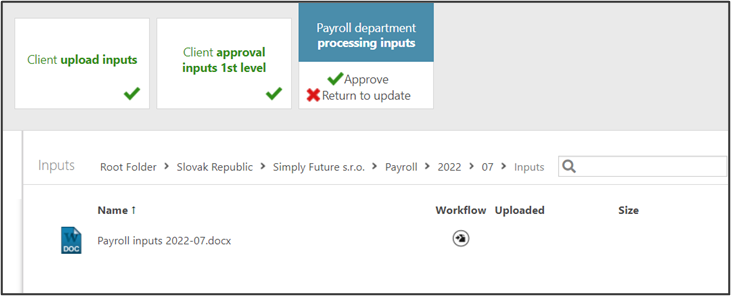
Click on the document name to download it. Open the downloaded document.
Click Approve.
Step 3 – Comment
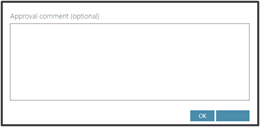
Add a comment, if needed. Click OK.
Upload OUTPUTS
This is the outcome for a client, the results of payroll calculation.
Step 1 – Tile
Go to Payroll Uploads tile.
Step 2 – Add files
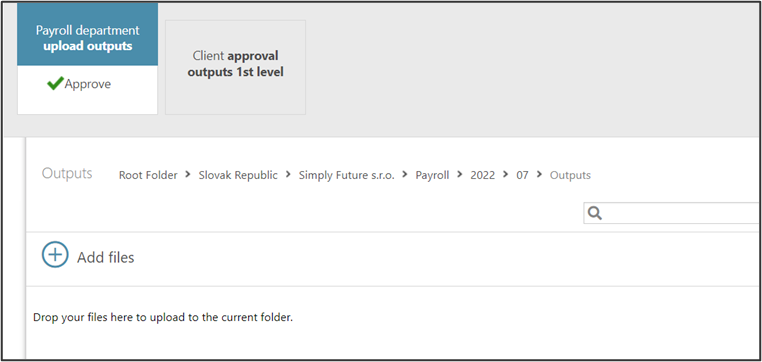
Open Outputs Folder. The path to this folder is displayed in the picture.
Click on Add files to upload the documents for a client.
Step 3 – File
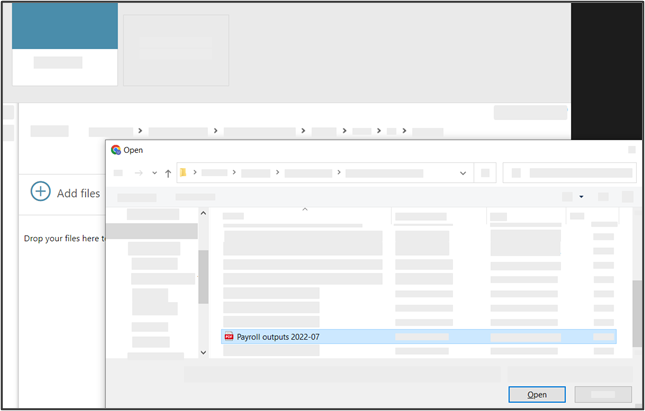
Search folders in your PC to find the required documents. Click Open.
Step 4 – Approve
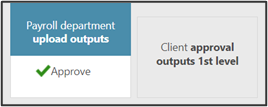
The file is now uploaded to TULIP.
Click on the Approve button. It must be approved to make it visible to the client.
Step 5 – Comment
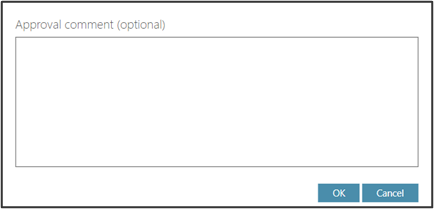
If you want to, add a comment.
Click OK.
Upload PAYSLIPS
Files that are uploaded must be in a certain format and include a personal number of an employee at the beginning. This way, the file is sent automatically to the correct employee only.
If you send payslips to clients, they are distributed to employees as soon as the client approves it.
Step 1 – Tile

Go to Payroll Uploads tile.
Step 2 – Folder
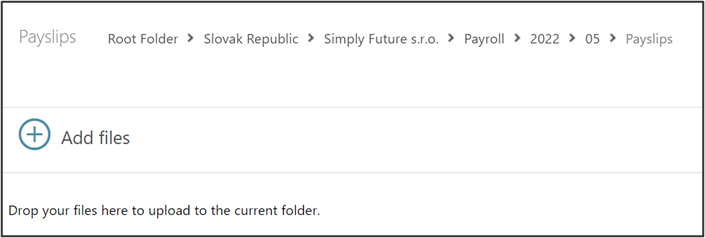
Default view is that TULIP shows you the current-month folder waiting for Payroll Uploads.
You can see and follow the path as displayed in the picture: Root Folder » Client’s country » Client’s name » Payroll » Year » Month » Payslips
Click on the + Add files button.
Step 3 – File name – format
The file must be saved with a name in a certain format. This way TULIP can send the file to the correct employee.
The file must start with a personal number of an employee at the beginning:
- For example, 1562 is a personal number of an employee, so the file´s name is:
- 1562-Smith Jason-May-2022.pdf

Also, after the personal number, one of those signs must follow to separate the personal number from the rest of the file´s name:

Step 4 – File name – other formats
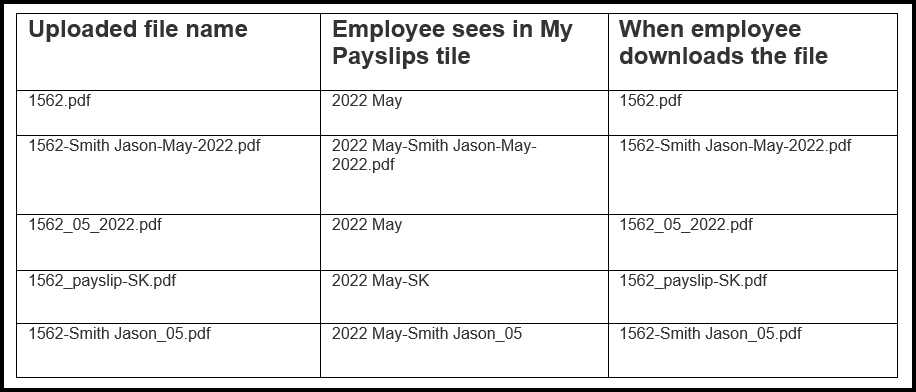
You can add other data into the file´s name but you must use the correct format. See the picture.
Step 5 – File name – displayed version
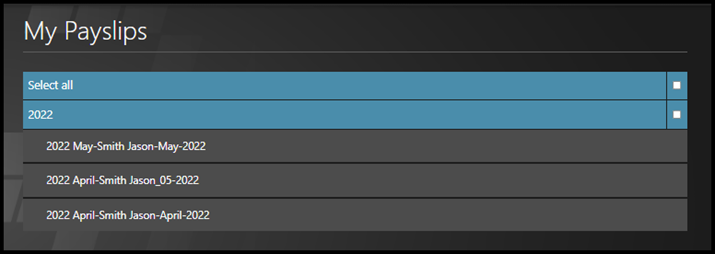
This is how the employee sees his/her payslips in My Payslips tile.
Step 6 – File
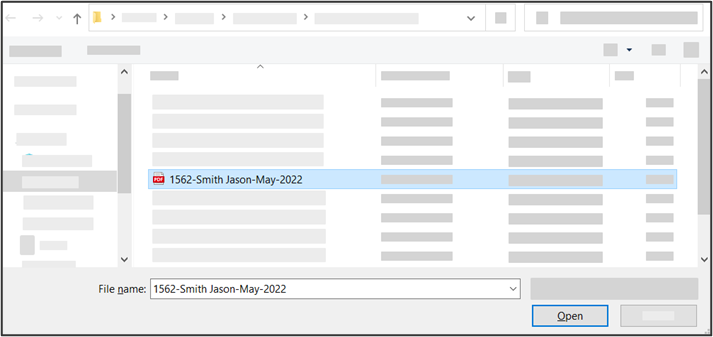
Search folders in your PC to find the required payslips.
Click Open.
Step 7 – Approve
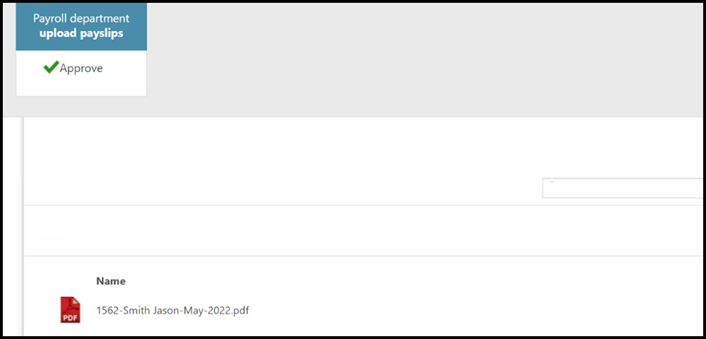
The file is now uploaded to TULIP. Click on the Approve button. It must be approved to make it visible to the employee.
Step 8 – Comment
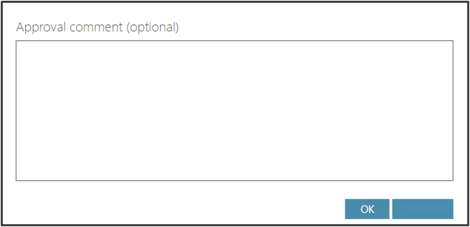
Add a note or comment for the employee, if needed. Click ok.
The payslip is now available for the employee in his/her TULIP account.