
Introduction
Welcome to our onboarding guide. Here you can learn how to activate your TULIP account.
These are some basic functionalities that many employees with a TULIP account use regularly:
- Payslips – How to find your payslips in TULIP.
- Attendance – How to create an absence (or presence) request in your attendance.
- Hotline – How to ask for help directly via TULIP.
Please note a TULIP setup you see may be different from the captures in this manual documentation. Your individual setup always depends on custom requirements and access settings of TULIP for your company.
Frequently asked questions
I have more than one TULIP account. How can I log in?
If you have more than one account, log in via Username, not via e-mail address.
What does a Username mean? Where can I find it?
A Username is a set of numbers and letters. It cannot be repeated in any other TULIP account.
It is used to separate two accounts with the same email address (e.g. employee account for attendance, payroll, business trips & personal account for a Tax Questionnaire).
Find your Username in the welcome email (the first email notification after your TULIP account is created).
I forgot my password.
Click the reset password button on the login screen and create a new one.

If there is some other issue, contact us.
Steps
Step 1 – E-mail
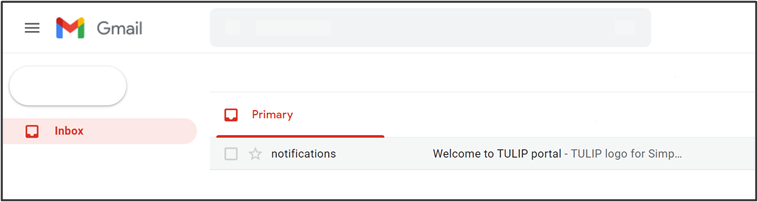
You receive an e-mail notification from notifications@tulipize.com with a link to create your password. Open the e-mail.
If you do not see the e-mail in your inbox, check spam e-mails and folder with deleted e-mails. Please contact your Human Resources department or check with your IT department. It is possible there are filters that automatically discard received emails from TULIP.
Single Sign-on users log in via their own systems. Contact your Human Resources department for access – you cannot set your TULIP password by yourself.
Step 2 – Welcome notification
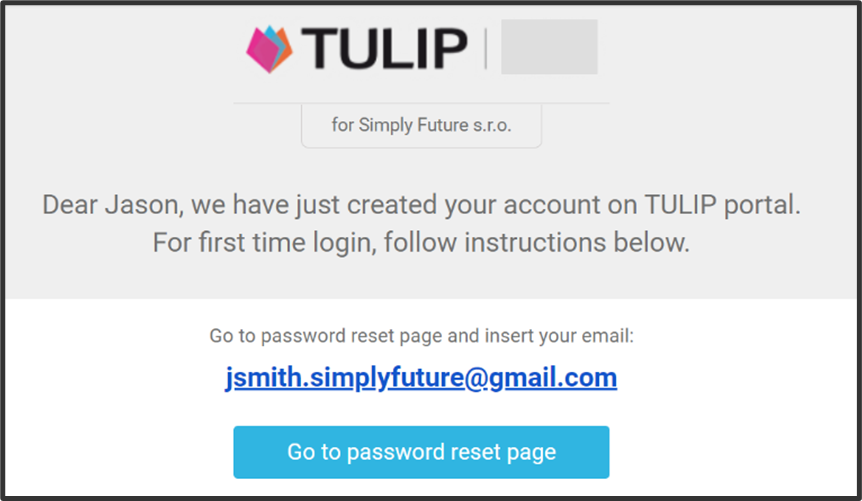
In the e-mail, click on Go to password reset page button.
Step 3 – E-mail or Username
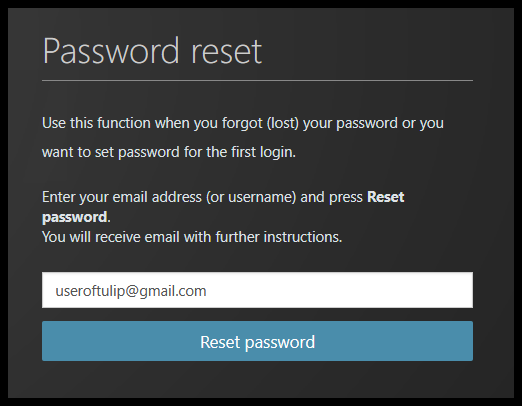
A new page in your web browser opens.
Type in your e-mail or username.
Click Reset password.
Step 4 – Confirmation of sending an e-mail
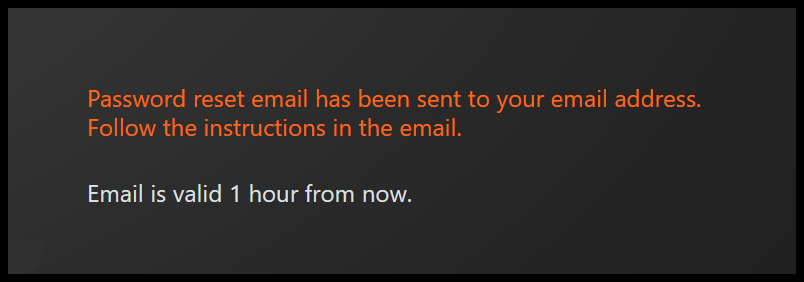
This is the screen you will now see. Go to your e-mail inbox.
Step 5 – Instructions
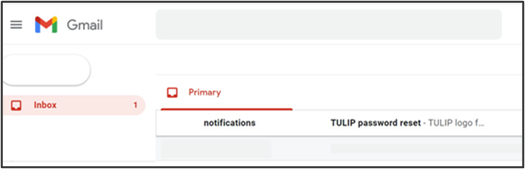
Open an e-mail with password reset instructions.
Step 6 – Open link
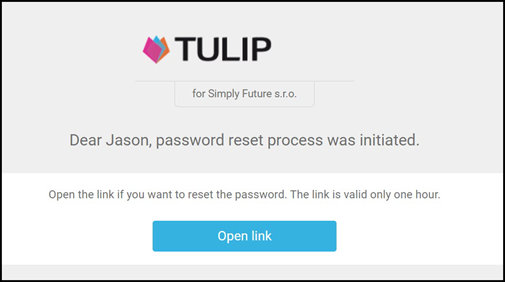
In the e-mail, click Open link.
You must click on that button in 1 hour from receiving it.
Step 7 – Password requirements
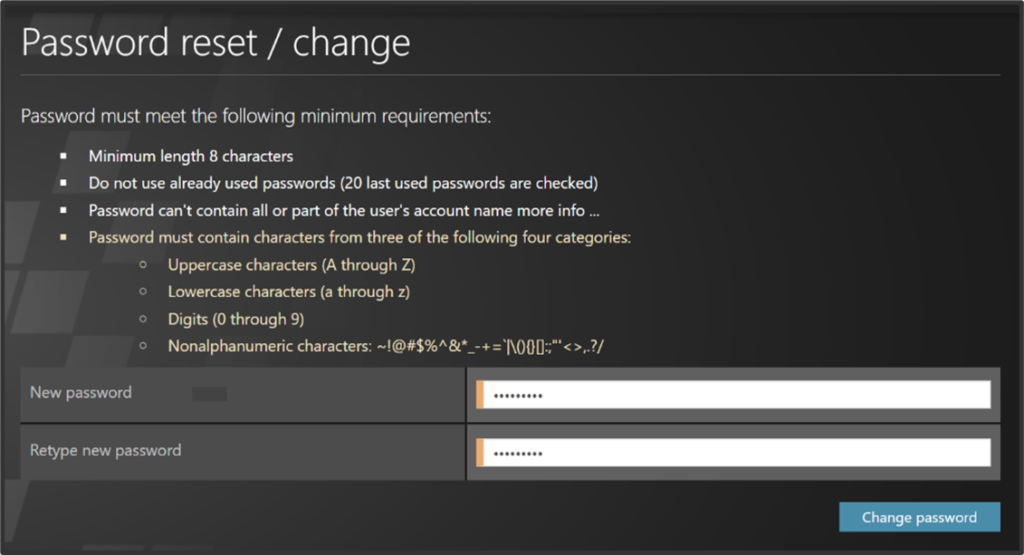
Create a new password.
The password must meet following criteria:
- Check if the password has 8 or more characters.
- Make sure your old and new passwords are not the same. Do not use a password or a part of a password that you already used in the past.
- Do not include your username or a part of it into your password.
- You must include three kinds of characters out of four categories:
- Uppercase characters (A, B, C, D, …)
- Lowercase characters (a, b, c, d, …)
- Digits (1, 2, 3, 4, …)
- Nonalphanumeric characters (!, ?, *, &, ?, *, &, %, +, <, …)
Click on the Change password button.
Note: Your password usually expires every 3 months. Before expiration, you will always receive an email notification to change it, so you can do it in advance.
Step 8 – Confirmation
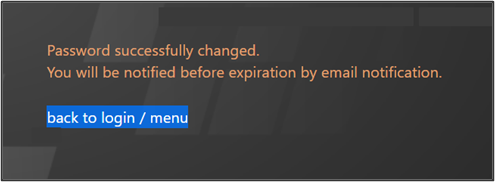
Your password is changed! Click on a back to login/menu to log into TULIP.
Step 9 – Log in
Use your e-mail or username and a new password. Click Log in.