
Overview
Users with HR Admin role may be allowed to set up an OUT OF EVIDENCE (OOE) STATUS of employees. The change affects multiple functionalities of how employees use their accounts during the OOE period.
Please note a TULIP setup you see always depends on custom requirements and access settings of TULIP for your company. Not all companies use this Administrator functionality and use OOE statuses. The setting also depends on the legislation in your country.
Types of OOE
- Maternity, Paternity or Parental leave
- Long-term unpaid leave
Effects of OOE STATUS on access
Please be aware that after the end date of OOE, the employees will have their full access back.
Allowed access
Employes with an OOE status can still log into TULIP accounts in a restricted view, and display:
✔ Personal Payslips
✔ Personal Tax documents
✔ Custom forms (for example, to fill in the form for related to Tax Reconciliation)
✔ Benefits
✔ Events
✔ Hotline
Not allowed access
All other tasks, responsibilities and notifications are suspended for the duration of their OOE status. These functions are restricted:
❌ The employee does not have an active access to Attendance functionality.
❌ Approving attendance requests of subordinates
❌ Closing attendance period
❌ Accounting, invoices or orders approval
❌ Reports
❌ File manager access
❌ Administrator´s access to employees
❌ Business trips
Set up OOE STATUS in TULIP
Step 1 – Location

Go to Admin tile.
Select Employees.
You can choose the Company and filters if needed. There are advanced filters hidden – click on the small arrow to display them. Then, click Apply filter.
Step 2 – Wheel – Employee settings

Click on a wheel icon next to employee´s name.
If you cannot find an employee/s, follow this manual.
Step 3 – Add new OOE
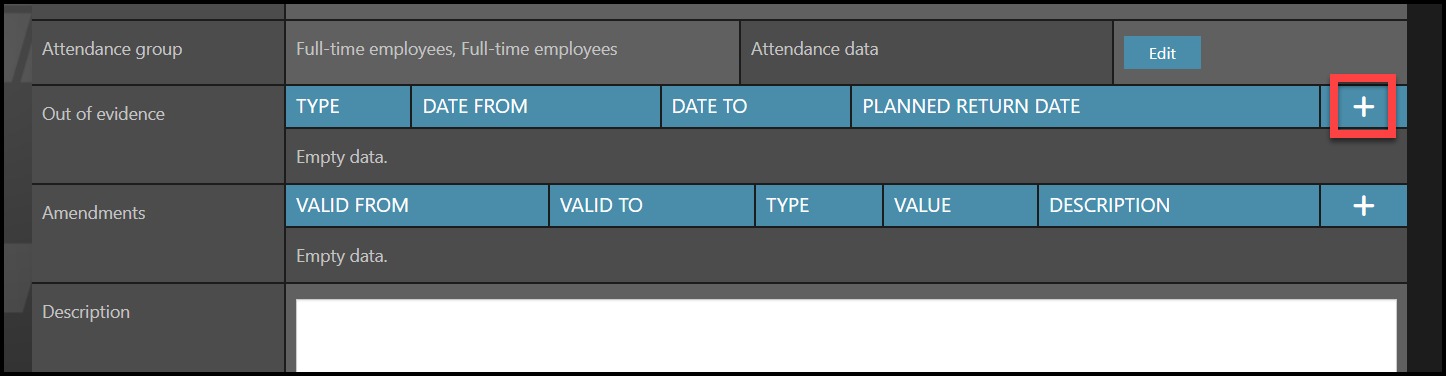
Scroll down to the Out of Evidence (OOE) section.
Click on the plus button.
Step 4 – Out of evidence details
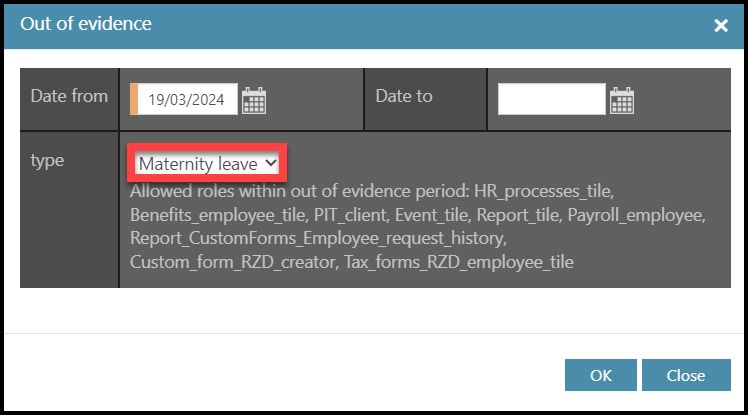
Select the dates. You can leave the “Date to” blank and update it later (even after the end of OOE).
Select the type of leave: Maternity leave, Paternity leave, Parental leave or Long-term unpaid leave.
Click OK to save the information.
Step 5 – Save changes
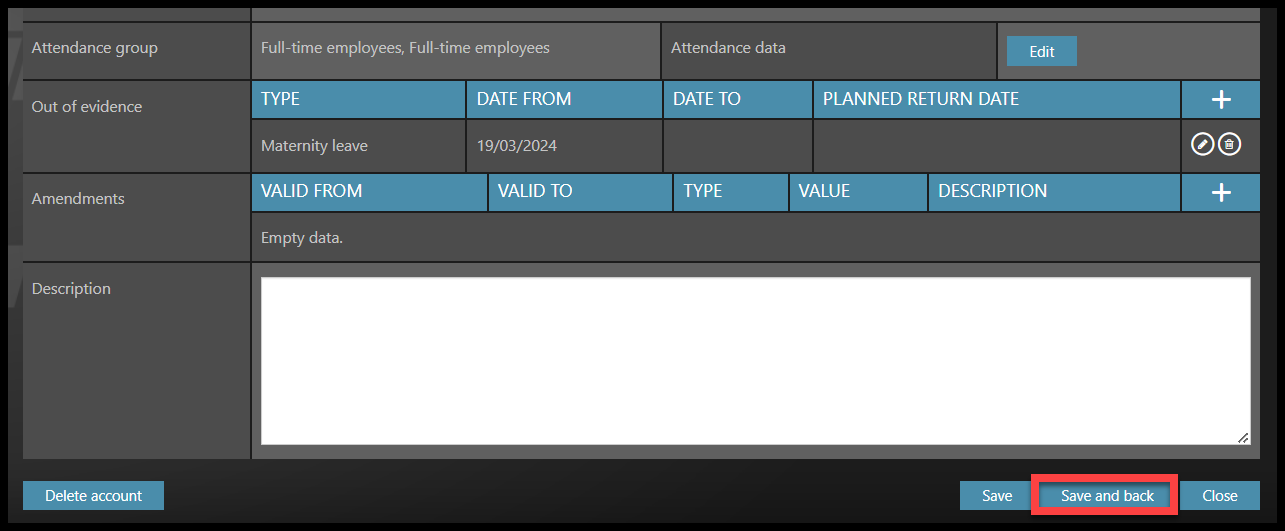
Now the information visible in their profile.
Click Save and back to save changes and return back to the list of employees.