
Introduction
As an employee, you create your Business trip plan (insert the trip length, location, advance payment, etc.). Wait until the plan is approved by a manager, and after the return from your trip, fill in a Business trip settlement form.
In Business trip plan, you can:
✔ ask for an advance payment (receive a certain amount of money before the trip)
✔ create an attendance request for business trip
✔ add and use your own vehicle quickly from a database
✔ ask for a ticket or accommodation booking (from reception, office manager)
✔ create a draft of a plan, save it and come back to editing later
Please note a TULIP setup you see always depends on custom requirements and access settings of TULIP for your company. Not all companies use the Business Trips functionality.
Frequently asked questions
I cannot create a Business trip plan.
If the attendance is approved and locked for a certain month, you cannot create a Business trip plan for that period without reopening that period. Contact your HR.
Is a Business trip during weekend / bank holiday / other days without working shift possible?
Usually, employees can create Business trips only for days where there is already a planned working shift. It is possible to enable business trip for other days (for example, weekends) and in this case, employee has to create an attendance request for overtime work on that day.
Steps
Step 1 – Tile

Go to Business trips tile.
Step 2 – New business trip
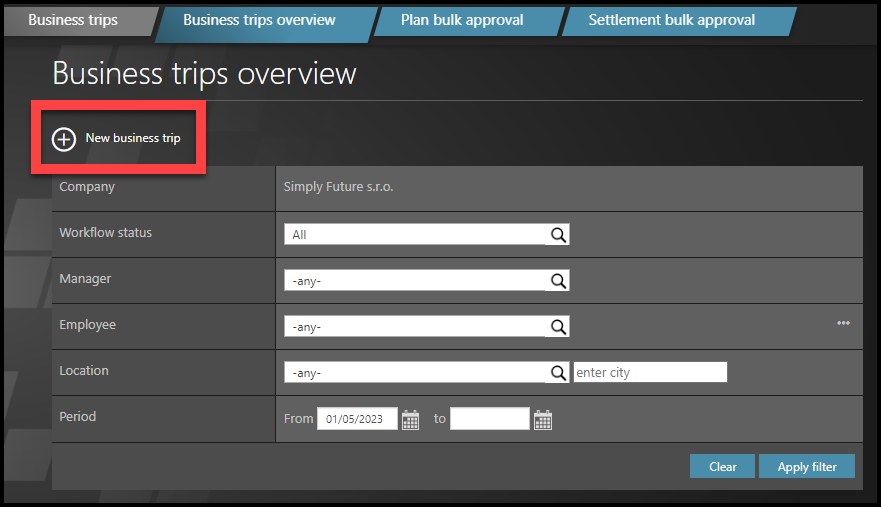
Click on a + New business trip button.
Step 3 – Details about the trip
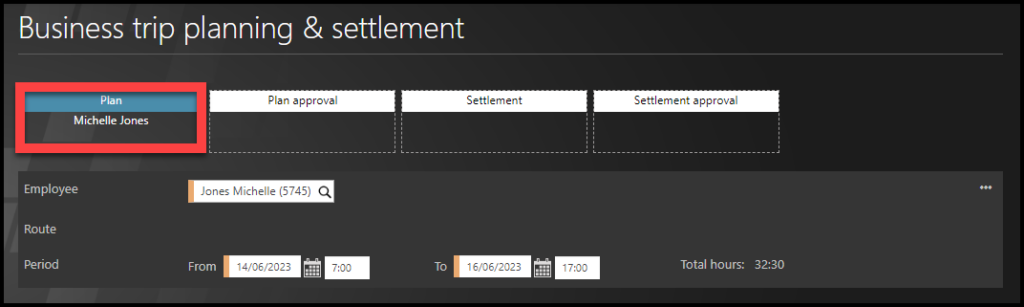
Fill in the business trip form. Fields with an orange stripe are mandatory.
Fill in details about an overall trip length. Click on small calendar icons and choose dates. Fill in the time.
BT for days without worked shift – Usually, you can create BT only for days where there is already a planned working shift. In some cases, it is possible to create a business trip for other days (for example, weekends). In this case, you must also create an attendance request for overtime work on that day.
Stand-in
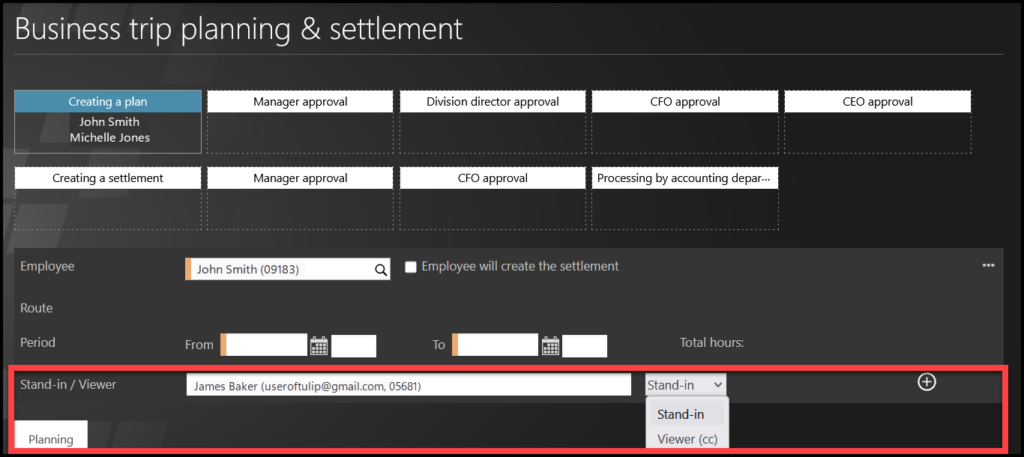
Some companies also use a “Stand-in” option – an option to set up Delegation directly from here.
If you are using that feature, select the employee.
Choose Stand-in or Viewer that will be responsible for your tasks during the Business trip.
Step 4 – Locations
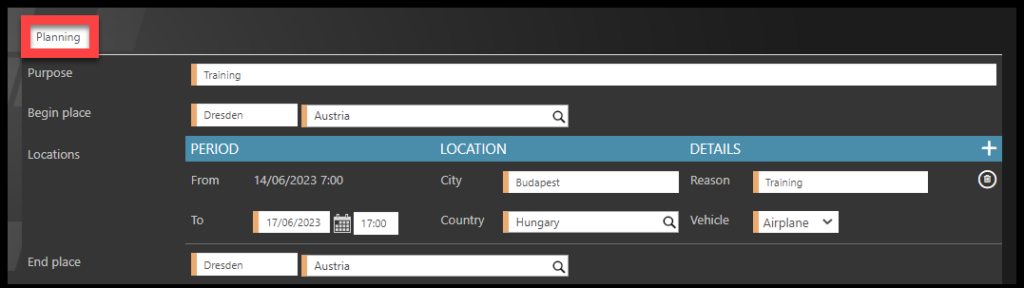
Choose the location – fill in the row – location, date, time, country, vehicle used for transport.
You may need to specify the type of a vehicle, dates, and state if you need some accommodation/transport booking.
If you are traveling to more than one location, you must add additional rows to the form. Click on a plus button. To remove location, click on a bin icon.
Fill in each row – location, date, time, country, vehicle used for transport.
Hybrid vehicles – Select one vehicle multiple times in one BT (if you drove part of the BT on electricity and the rest of the BT on diesel, for example).
Step 5 – Advance Payment

This is an amount of money you receive before the business trip. If you wish to receive Advance Payment, you must fill in those two fields:
- Amount
- Payment method
Step 6 – Other details
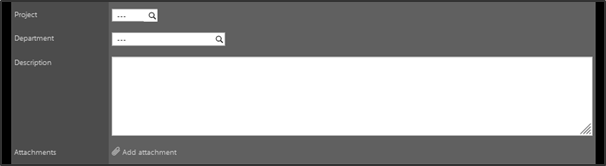
If needed, add details about the trip – Project, Department, Description, Attachments.
Step 7 – Save or Send to approval

- Click on Save button to save the draft without sending it to your manager. Come back to it later. You can find it in My Tasks tile.
- Click on Submit / Send to approval if the plan is ready. This sends the plan to your manager for approval. It becomes locked for any changes from you.
- Close – closes the form without saving any changes.
Wait until the plan is approved by a manager – you receive an e-mail notification.
After you return from your trip, fill in a Business trip settlement form.