
Introduction
In TULIP Attendance, you can send your manager a request for vacation, home office, sick leave or other types of requests. The request can be edited, moved or deleted under certain conditions. In this manual you will find information on:
- How to create a request
- How to create bulk requests for multiple days
- How to change/move/delete an existing request
Please note a TULIP setup you see always depends on custom requirements and access settings of TULIP for your company. Not all companies use the Attendance functionality.
Frequently asked questions
Who can create requests?
- Manager / HR Administrator can edit, delete, or create any type of request.
- Only HR Administrator with special access rights can be able to change the attendance of a terminated employee.
- Payroll accountant can make any changes to a closed attendance period & re-open the attendance period for Managers/HR, so they can edit the attendance themselves.
1. Request
This is a functionality where you can create a small number of various requests easily.
Step 1 – Tile
Go to My Attendance tile.
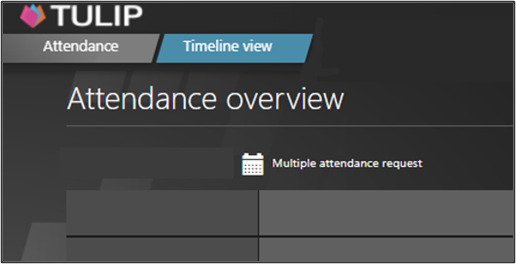
Step 2 – Timeline view
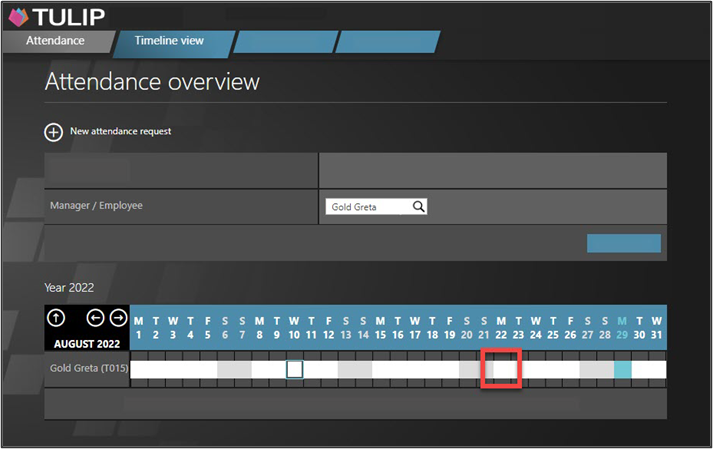
See the Timeline view section.
Click on a specific day in a calendar. This opens a new request form for this day.
You can also click on a + New attendance request button.
If you need other options of displaying employees – for example to display inactive employees, show also subordinates or display full teams, click on the icon of three dots.
Step 3 – Attendance request
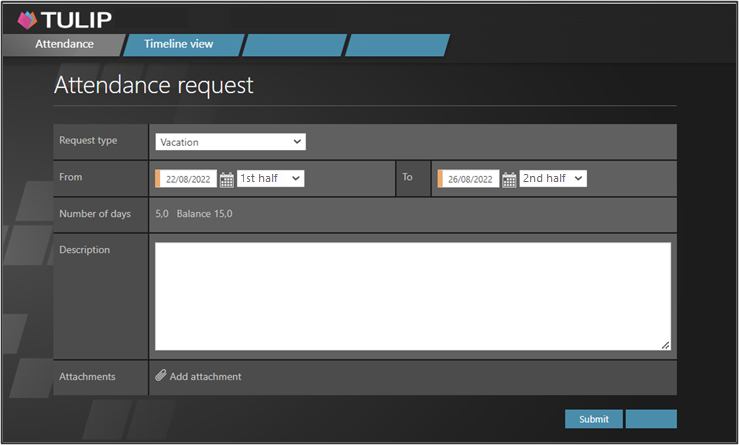
Choose the Request type, for example a doctor´s visit, vacation, home office, sick day, overtime etc.
Click on the calendar icon. Select From and To dates and time (or 1st half and 2nd half of the shift).
Check your Number of hours current balance in the description. It interactively changes depending on the length of your request.
Some companies also use a “Stand-in” option – an option to set up Delegation directly from here. If you are using that feature, select viewer (an active employee, usually on the same managerial level) that will be responsible for your tasks during your absence.
Click on the Submit button.
Step 4 – Wait for approval
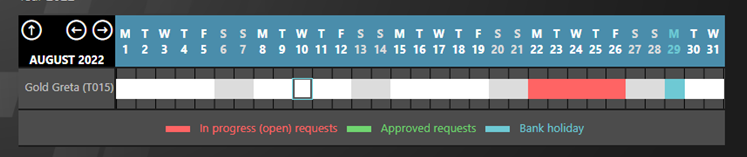
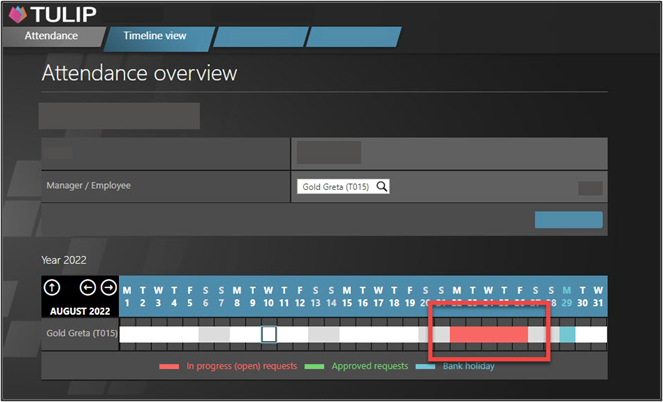
Your request is now submitted. You will see a red box or boxes which means the request is waiting for approval. Wait for your manager to approve your request.
You will usually also receive an email notification once your request has been approved. If you are receiving summary notifications – which means, multiple email notifications merged into one email – you will not receive a notification after each request, but a summary notification once during a pre-set time period.
Step 5 – Download / Print

After your request is approved, you can also download or print it.
Open the request and click Print. Then, select the desired option.
2. Bulk requests
This is a functionality where you can create multiple repeating requests quickly and automatically.
There are two parts in creation of a bulk request:
- First, create a template
- Define the period in which your template request will duplicate itself automatically
Step 1 – Tile
Go to My Attendance tile.
Step 2 – Timeline view
See the Timeline view section.
Click on a Multiple attendance request button.
If you need other options of displaying employees – for example to display inactive employees, show also subordinates or display full teams, click on the icon of three dots.
A) Template
Step 3 – Template
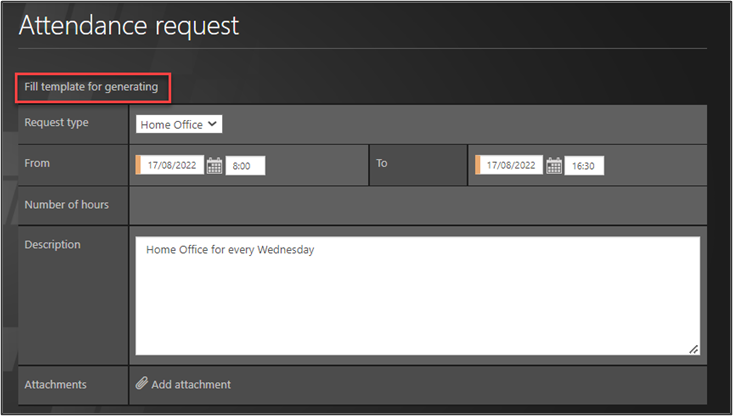
Create the first day of your request that will serve as a template.
Choose the Request type (home office, vacation, overtime, …)
Click on the calendar icons. Select From and To dates and time.
Description and Attachments fields are usually optional.
B) Multiple requests
Step 4 – Multiple requests
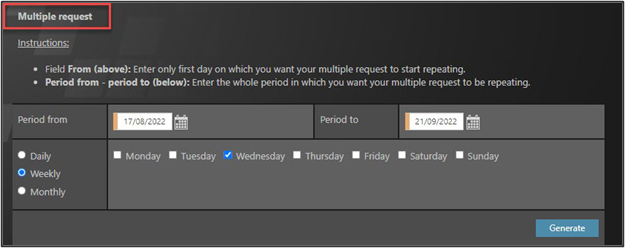
Choose the period and parameters for all your next, repeating requests.
Click on the calendar icons. Select From and To dates of the period.
Choose how often you want your request to duplicate:
- Daily – the template will repeat every day. Use in case of requesting hours during the day with this activity. For example, Home Office from 3 p.m. until 5 p.m. every day.
- Weekly – the template will repeat on a certain weekday(s). For example, every Wednesday during next month, you will have a Home Office.
- Monthly – the template will repeat on a certain day(s) in a month. For example, each 15th day of a month, you can request a doctor´s visit.
Click Generate.
Step 5 – Outcome
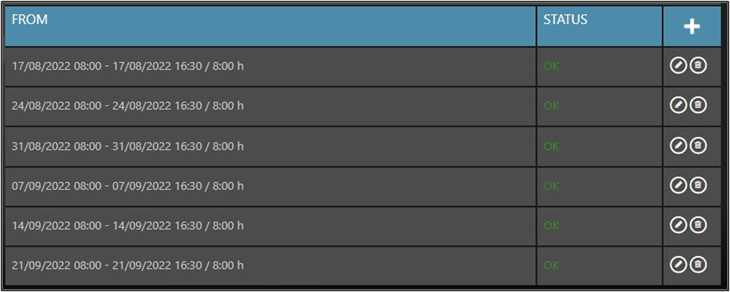
See the outcome. This is the full list of days.
OK in green – the row is fine and will be imported. If all is OK, you can scroll down and click Submit.
Step 6 – Errors
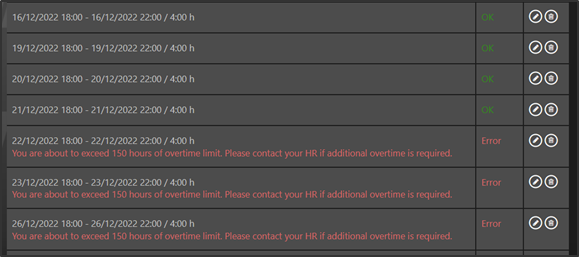
If there is any orange or red note, check the description:
Warning in orange – indicates an error in the import, but it is not so serious. See the description. You can import requests with this warning.
Error in red – this row cannot be imported – therefore the Validate and Submit buttons are gray and not working now. See the description of error. You must edit or delete the row.
Step 7 – Edit

You can edit each request (1 row) individually.
- Create an extra request – click on a plus button.
- Delete request – click on the bin icon.
- Edit request – click on a pencil icon.
Step 8 – Next steps
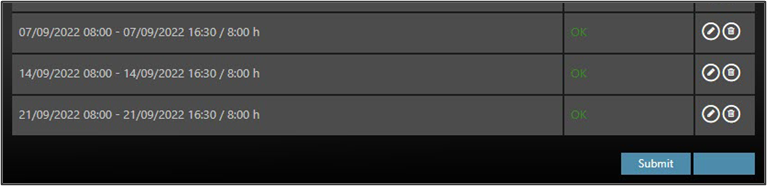
Scroll down and click Submit.
You will usually also receive an email notification once your request has been approved. If you are receiving summary notifications – which means, multiple email notifications merged into one email – you will not receive a notification after each request, but a summary notification once during a pre-set time period.
3. Change / edit / delete request
- If the manager did not approve your request yet, change the request without any approval process.
- If the manager approved the request, you must ask him/her via TULIP for permission to change it.
Step 1 – Tile
Go to My Attendance tile.
Step 2 – Timeline view
See the Timeline view section.
Click on a specific day/s you requested in your calendar.
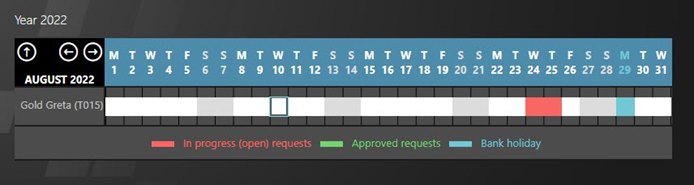
- Red color of the boxes means you can change the request without any approval. Your manager will only have to approve the new, changed request.
- Green (or any other color than red) means your request is already approved. After you change the request, it will be sent for approval to your manager once again
If you need other options of displaying employees – for example to display inactive employees, show also subordinates or display full teams, click on the icon of three dots.
Step 3 – Attendance request

Now you can edit the request.
- Change the request – Click on the calendar icons. Select From and To dates and time. Click Save changes.
- If you cannot change the request, you can only click Discard in order to change it into a new one. Then, your request for discard is submitted. Wait for your manager to approve it (especially if a new request is going to overlap the old one). Then you can create a new request.
Step 4 – Comment
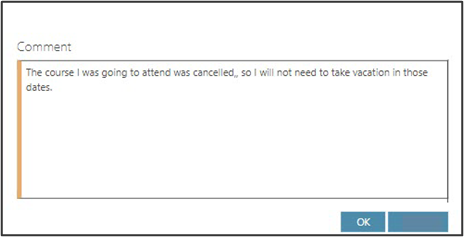
Add a comment for your manager, if necessary. Click OK.
Step 5 – New request
Your request is now submitted. Wait for your manager to approve your request.
You will usually also receive an email notification once your request has been approved. If you are receiving summary notifications – which means, multiple email notifications merged into one email – you will not receive a notification after each request, but a summary notification once during a pre-set time period.
Now you can see red boxes for all requested days which means those requests are waiting for approval. Once it is approved, the color will change (depending on the type of a request).